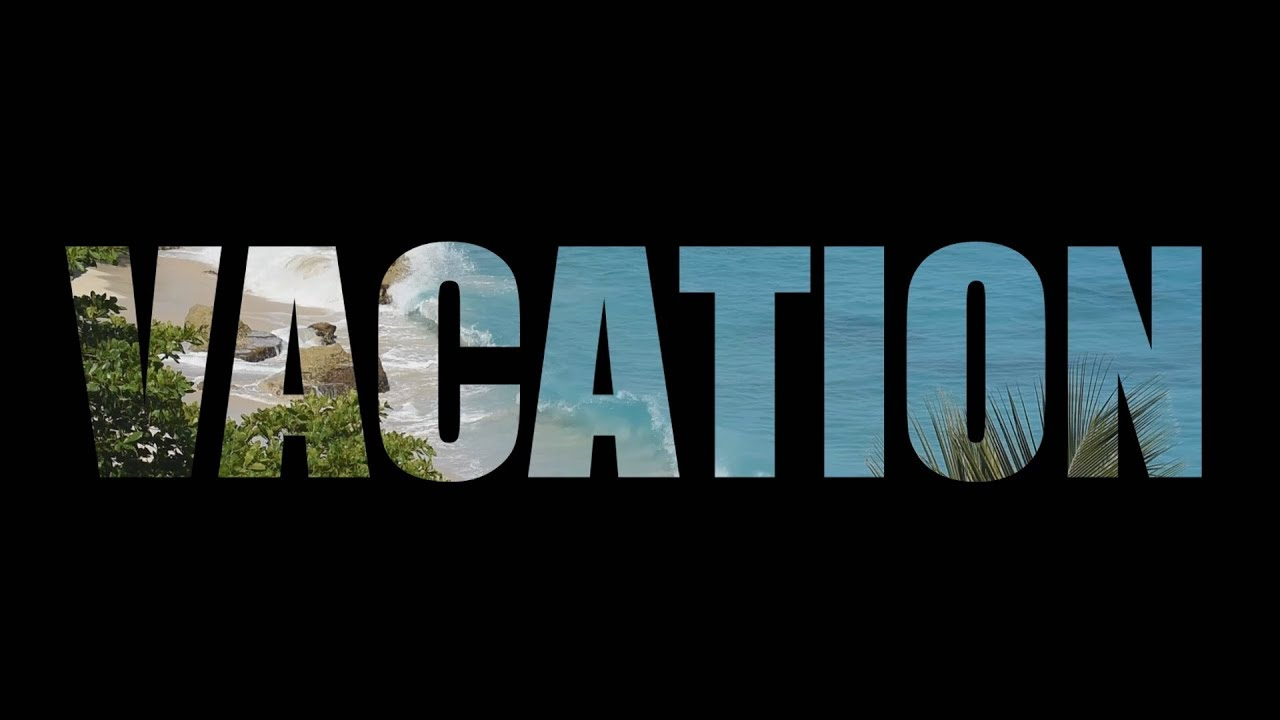
A very pretty effect and definitely easy to apply.
01. Structure
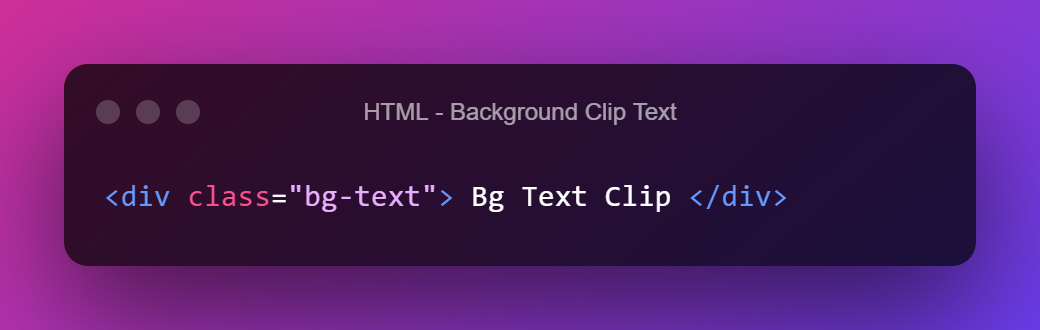
To begin, we simply assign the .bg-tex class to an element with text
02. Style
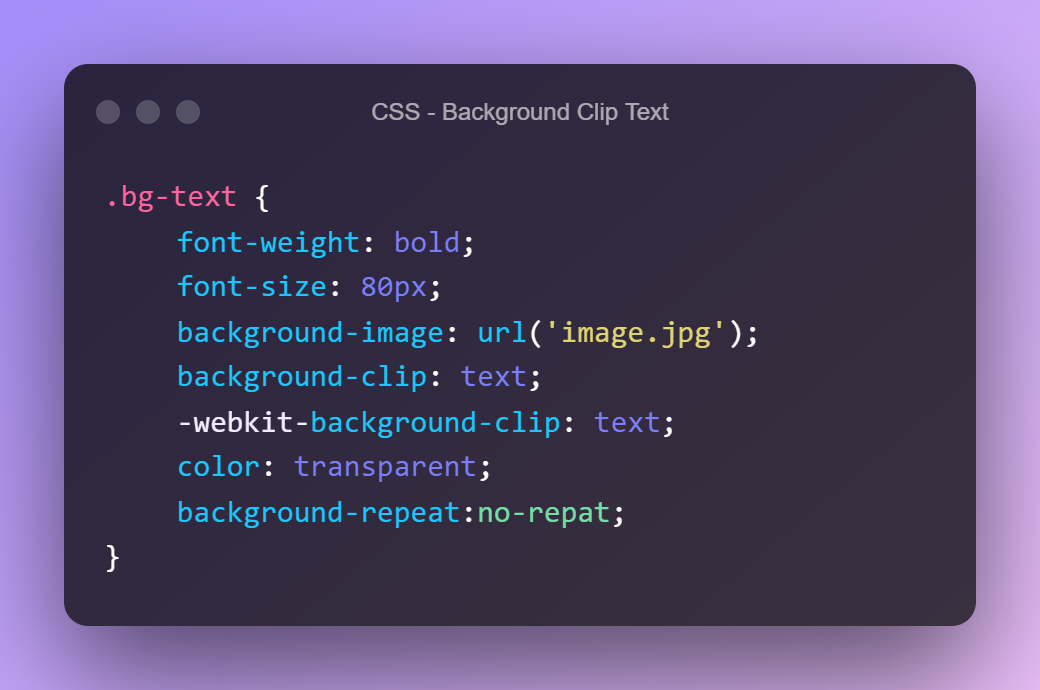
To give the effect we simply give the bg-text a background-image with the url of the image we want to use as a mask. After that we need to create the actual mask, so we give a background-clip: text; As the last two steps we now give a color: transparent to the text and a background-repeat to not duplicate the image
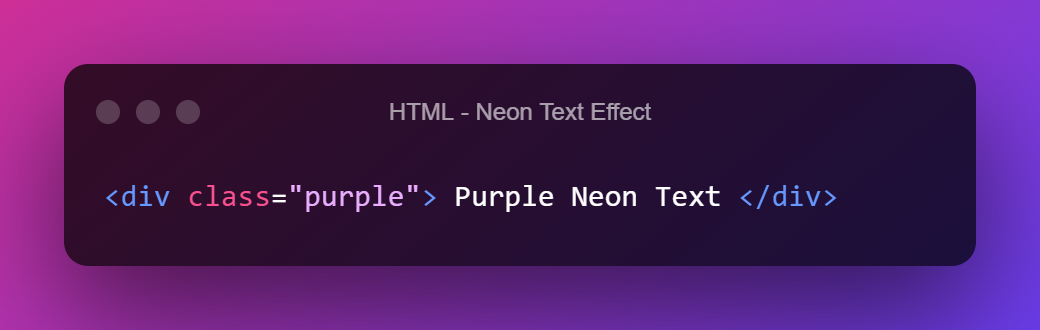
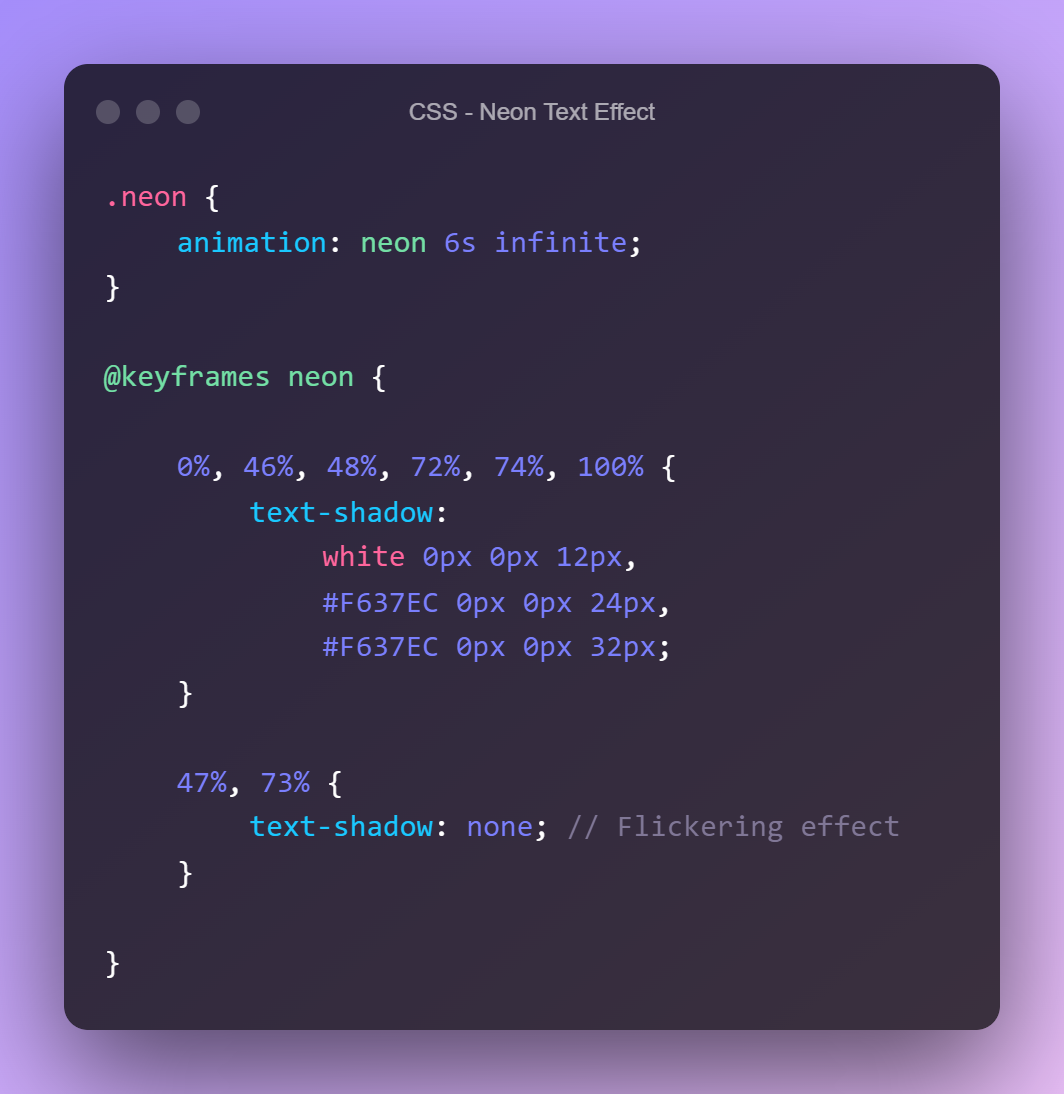
All you need to get started is a simple div with the class ‘neon’
02. Styling
For the style, we simply create a keyframe with the text shadow. To give the effect of ‘turning off’ we just add in certain places in the keyframe the text-shadow: none
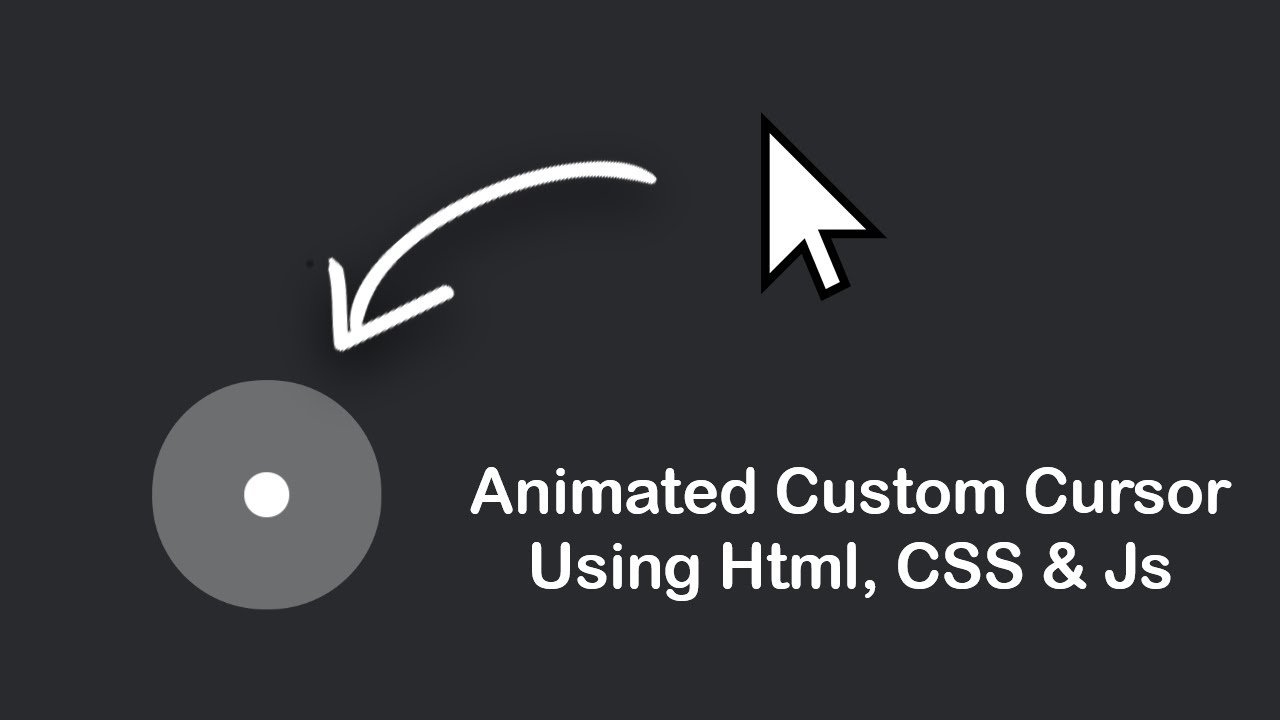
In this article I will lead you to the creation of a custom cursor with very few lines of code. Are you ready? Let’s get started.
02. Setup
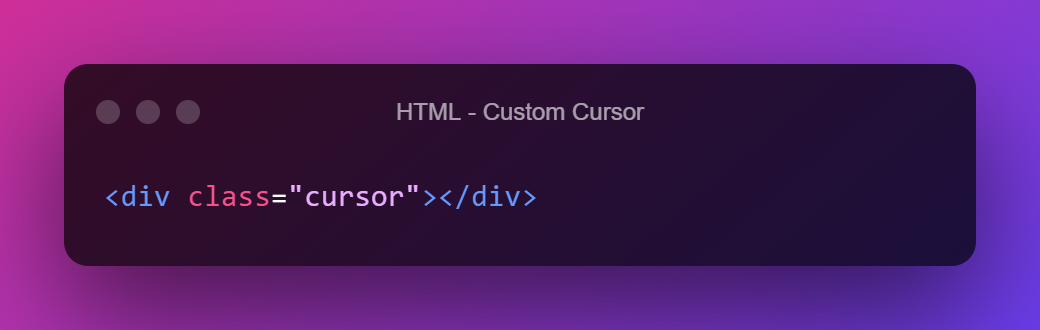
First let’s start with the structure of our cursor, a simple div with class .cursor
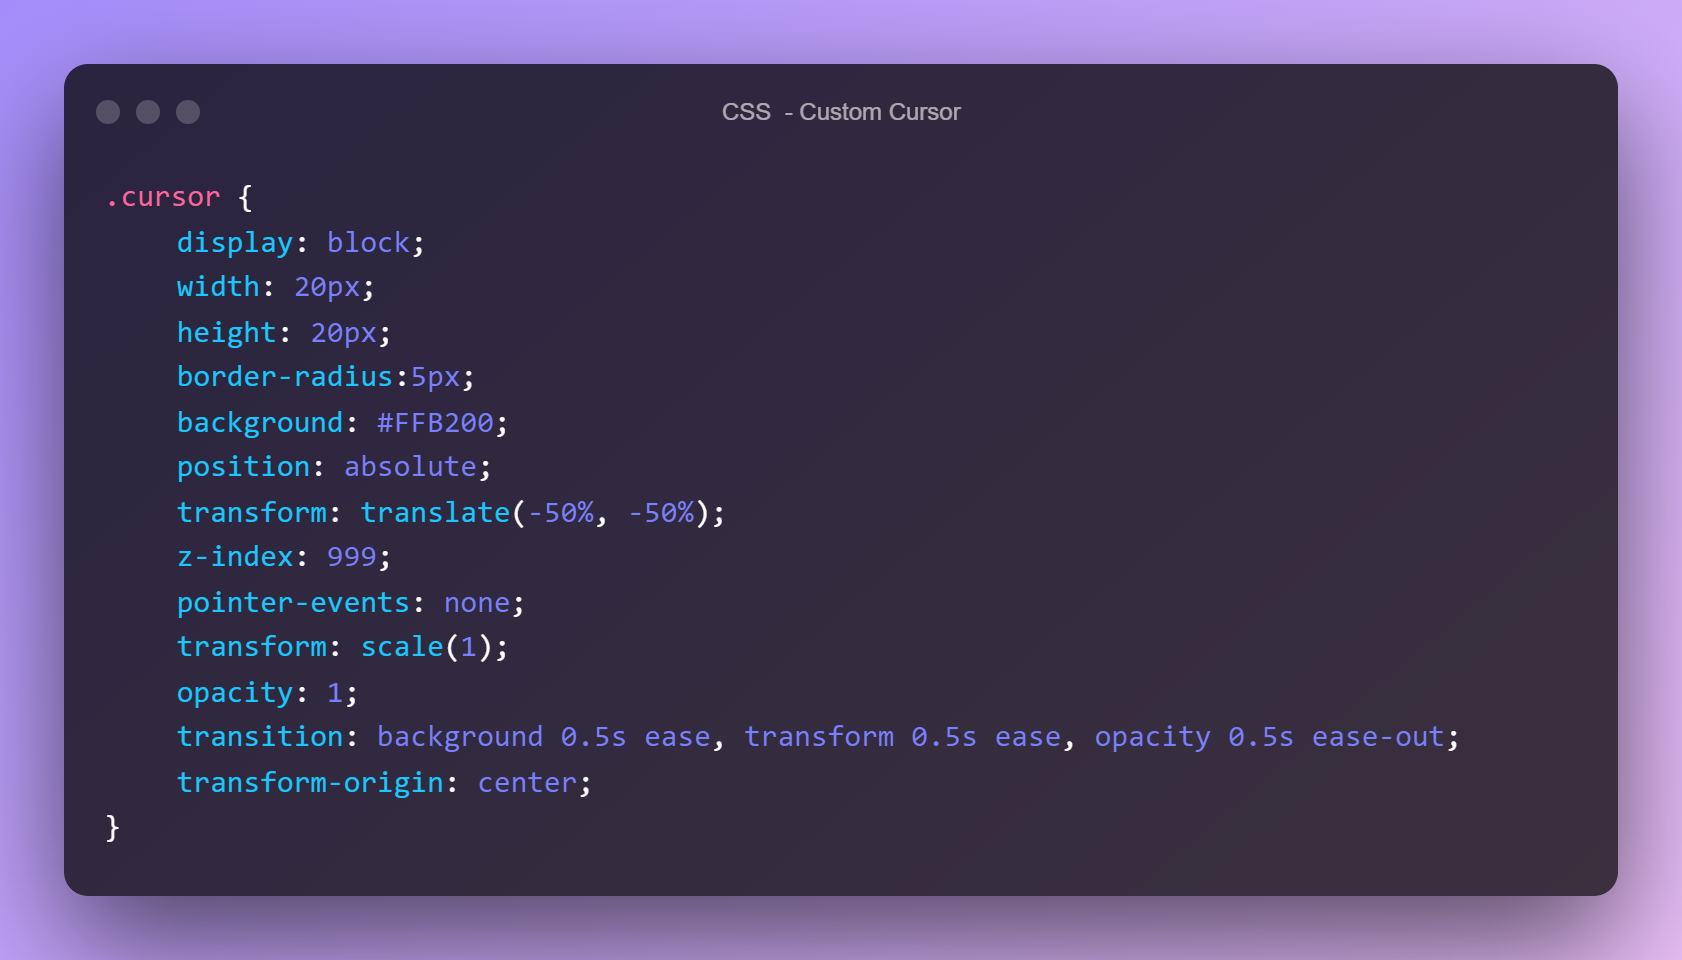
Very simple isn’t it? Now let’s style it with some CSS, I chose a small square with border radius.
Pay particular attention to the properties I have added to the cursor class, among them are some that are necessary for the cursor to work such as pointer events, z-index, position absolute with transform -50% and transition.
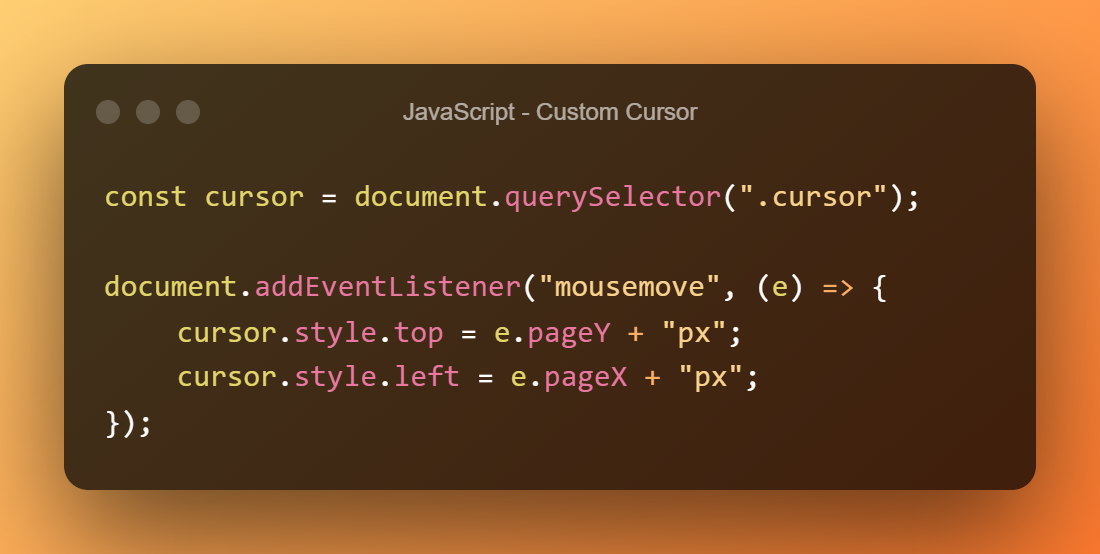
Now we are ready to animate the cursor to follow the mouse pointer.
All we do here is select the cursor and add the event listenter ‘mousemove’ to it, so that whenever our pointer changes position, the function inside is triggered.
Piece of cake!
03. Hover Effect
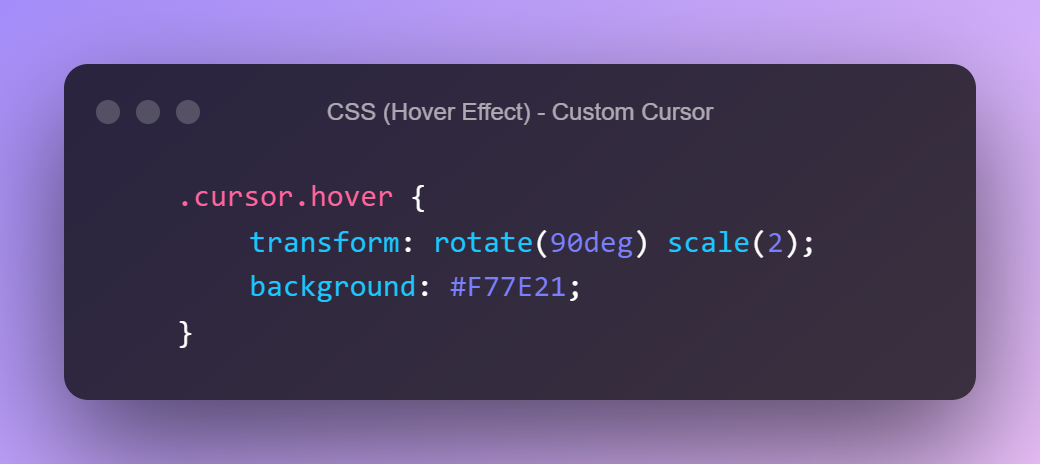
But we want to add two more effects to it, what do you say? Well, let’s start with the effect for hovering over links (the anchors)
Let’s prepare the css, add a scale, a small rotation and a background color change
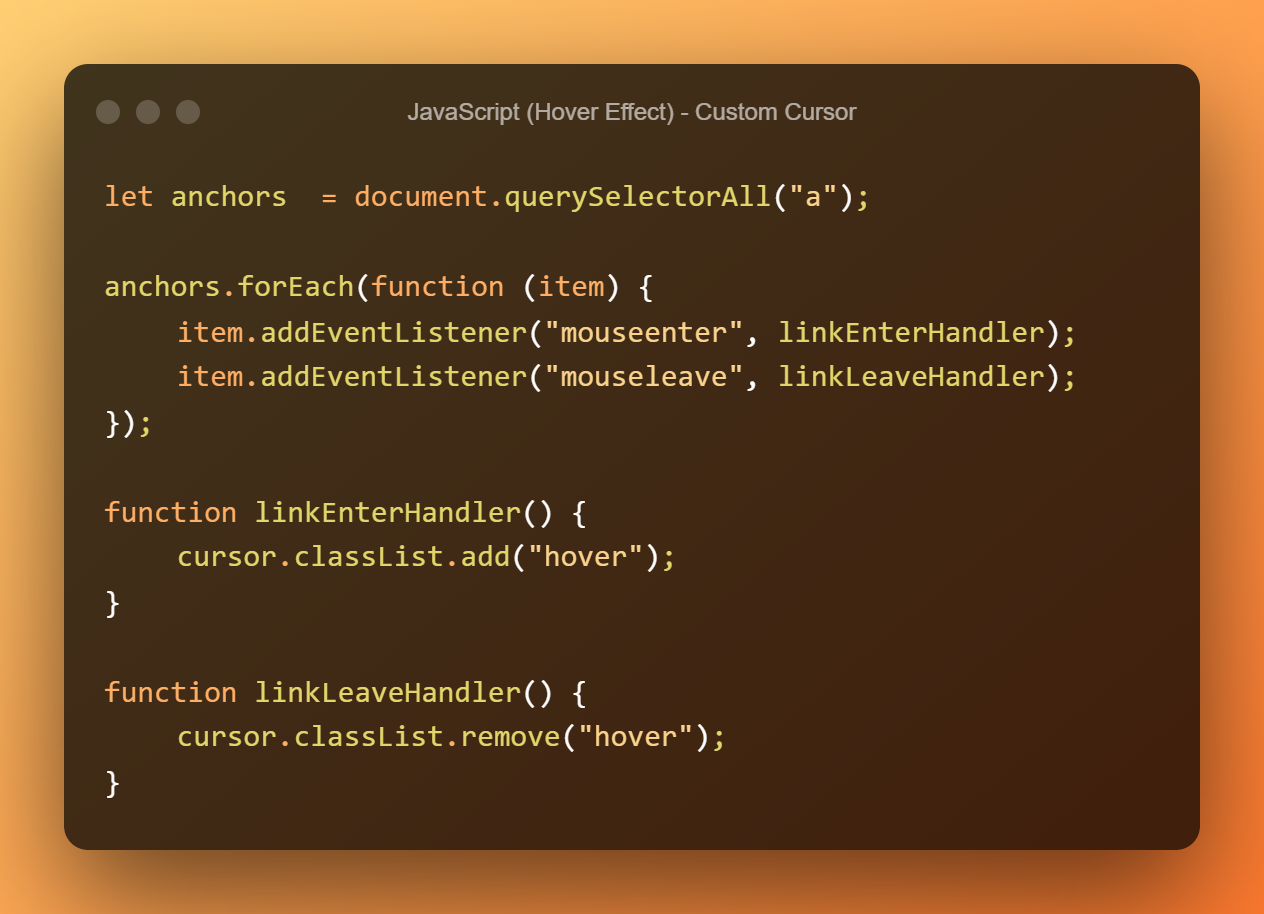
And now it’s javascript’s turn, at each link we have to set an event that adds the ‘hover’ class to our cursor and removes it when we hover out of the link, nothing simpler!
04. Click Effect
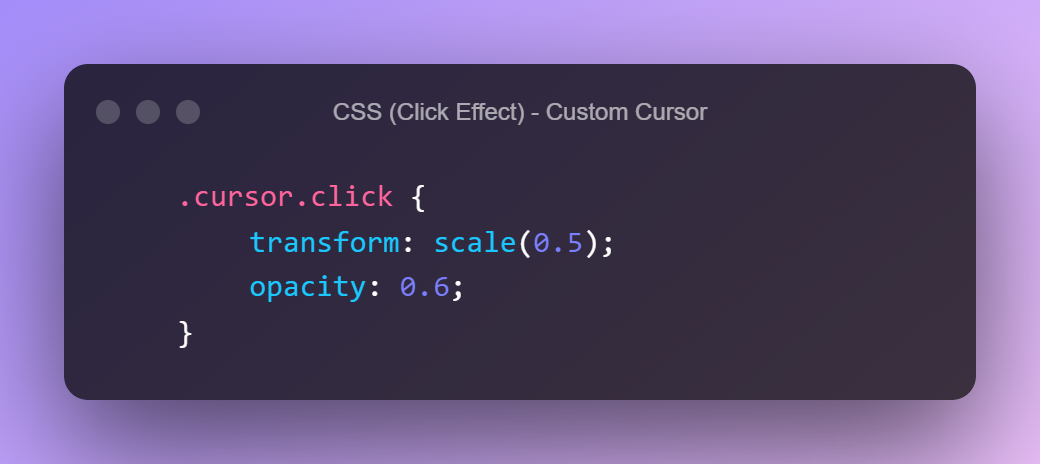
Ready for the next effect? Let’s add a style when we left-click anywhere on the page! Let’s start with setting the style
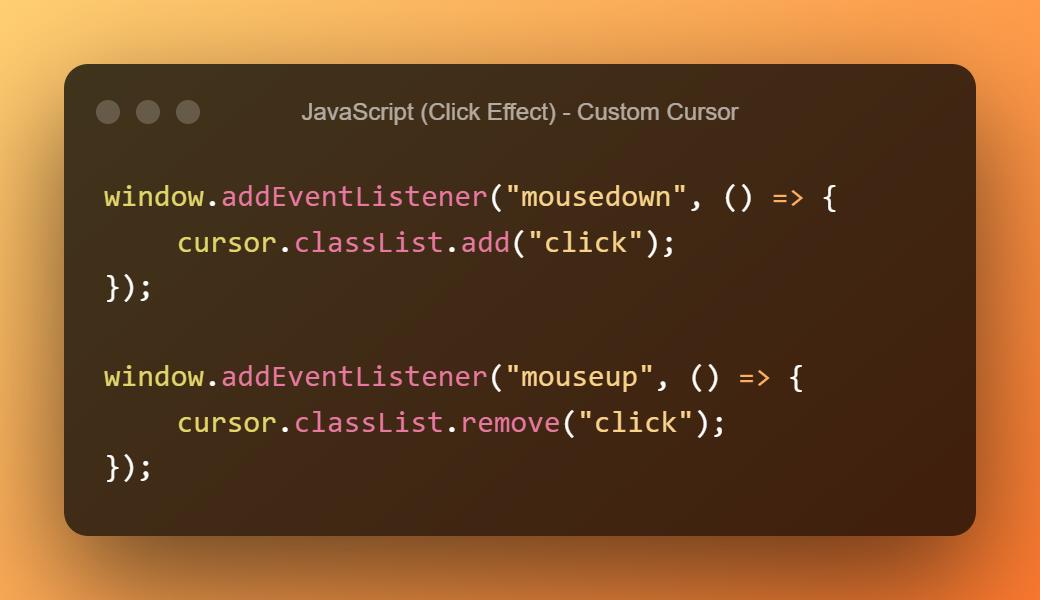
And now it is the event listener part, again when we click it has to add a class to the cursor and when we finish the click it has to remove it