A very pretty effect and definitely easy to apply.
01. Structure
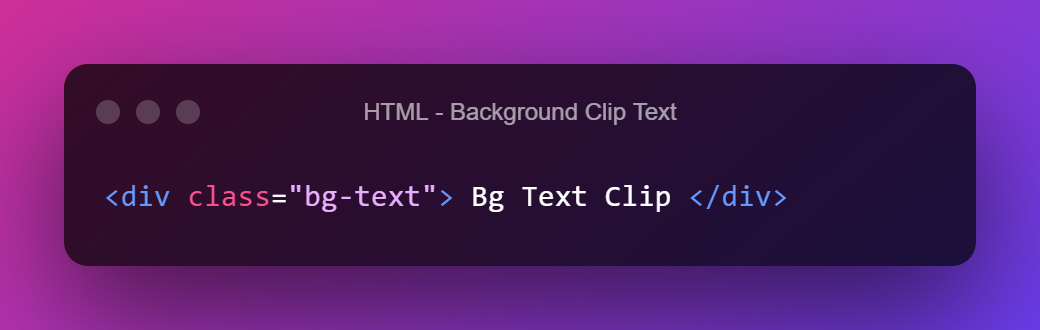
To begin, we simply assign the .bg-tex class to an element with text
02. Style
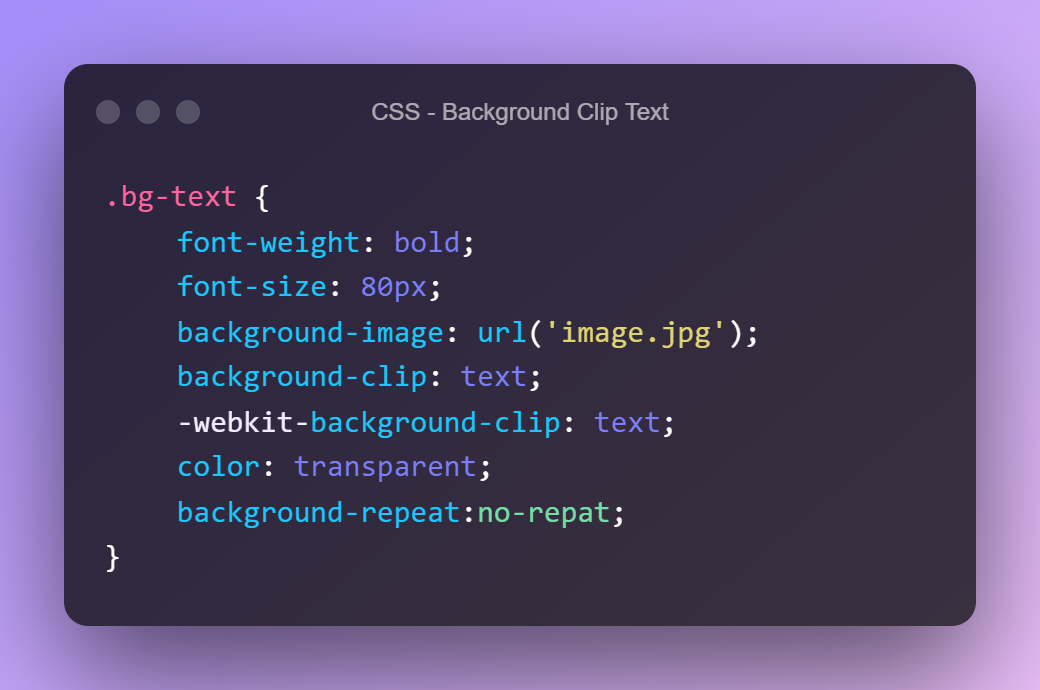
To give the effect we simply give the bg-text a background-image with the url of the image we want to use as a mask. After that we need to create the actual mask, so we give a background-clip: text; As the last two steps we now give a color: transparent to the text and a background-repeat to not duplicate the image
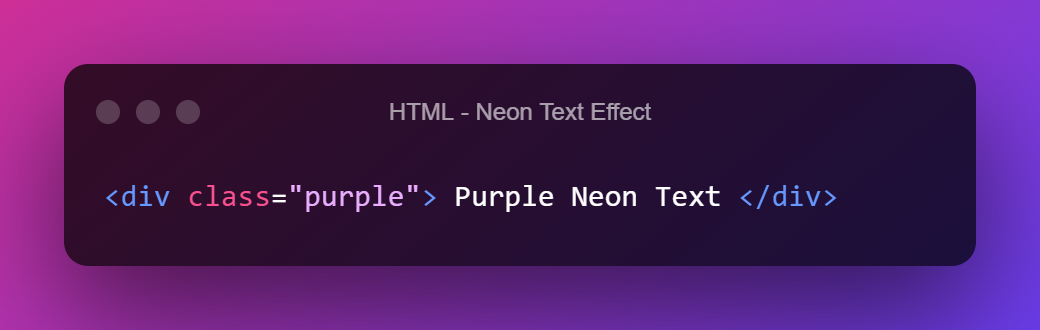
All you need to get started is a simple div with the class ‘neon’
02. Styling
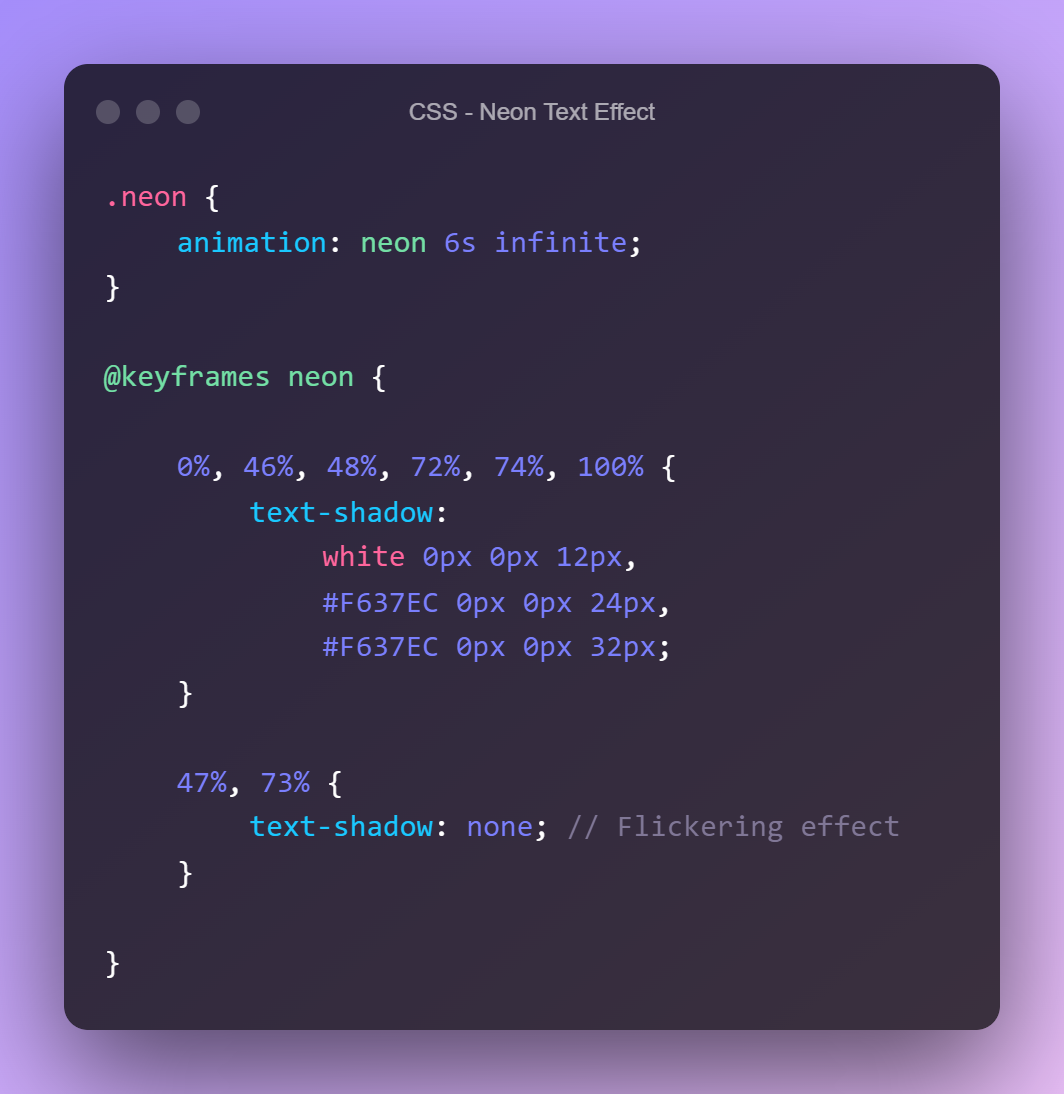
For the style, we simply create a keyframe with the text shadow. To give the effect of ‘turning off’ we just add in certain places in the keyframe the text-shadow: none
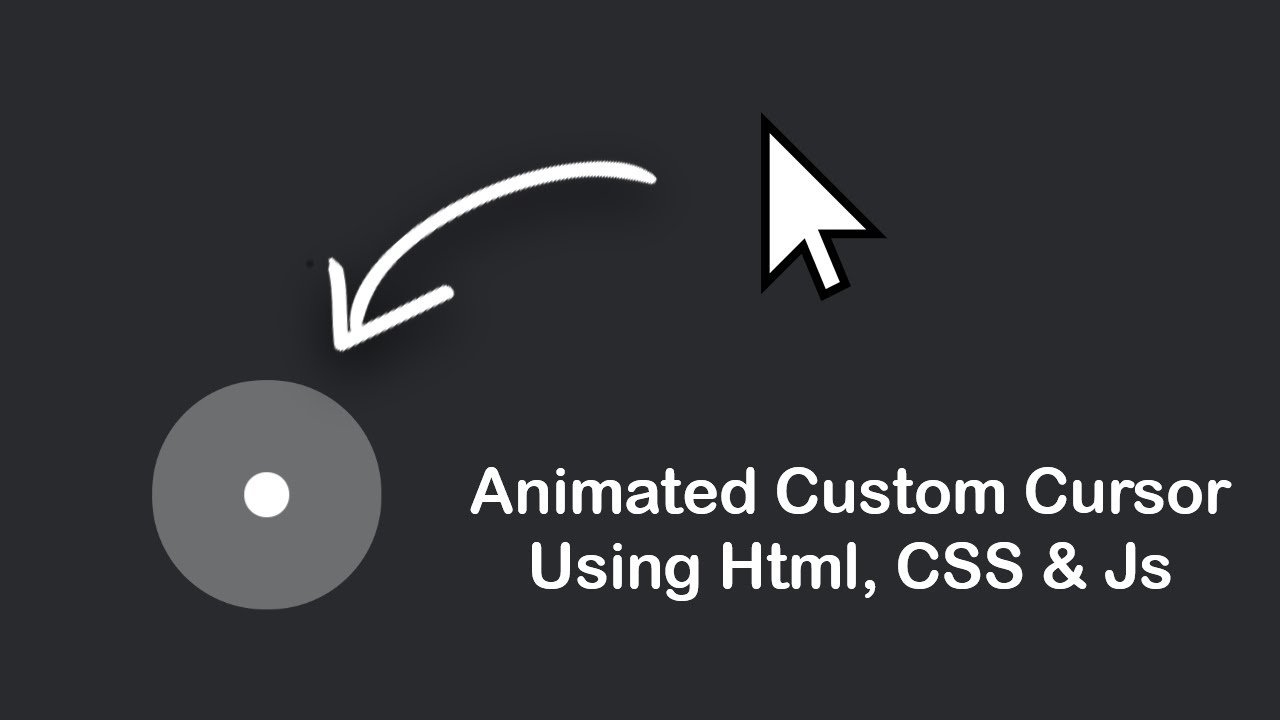
In this article I will lead you to the creation of a custom cursor with very few lines of code. Are you ready? Let’s get started.
02. Setup
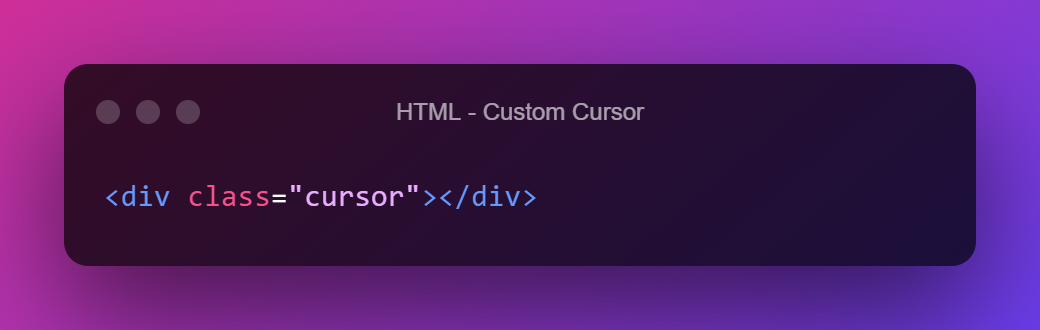
First let’s start with the structure of our cursor, a simple div with class .cursor
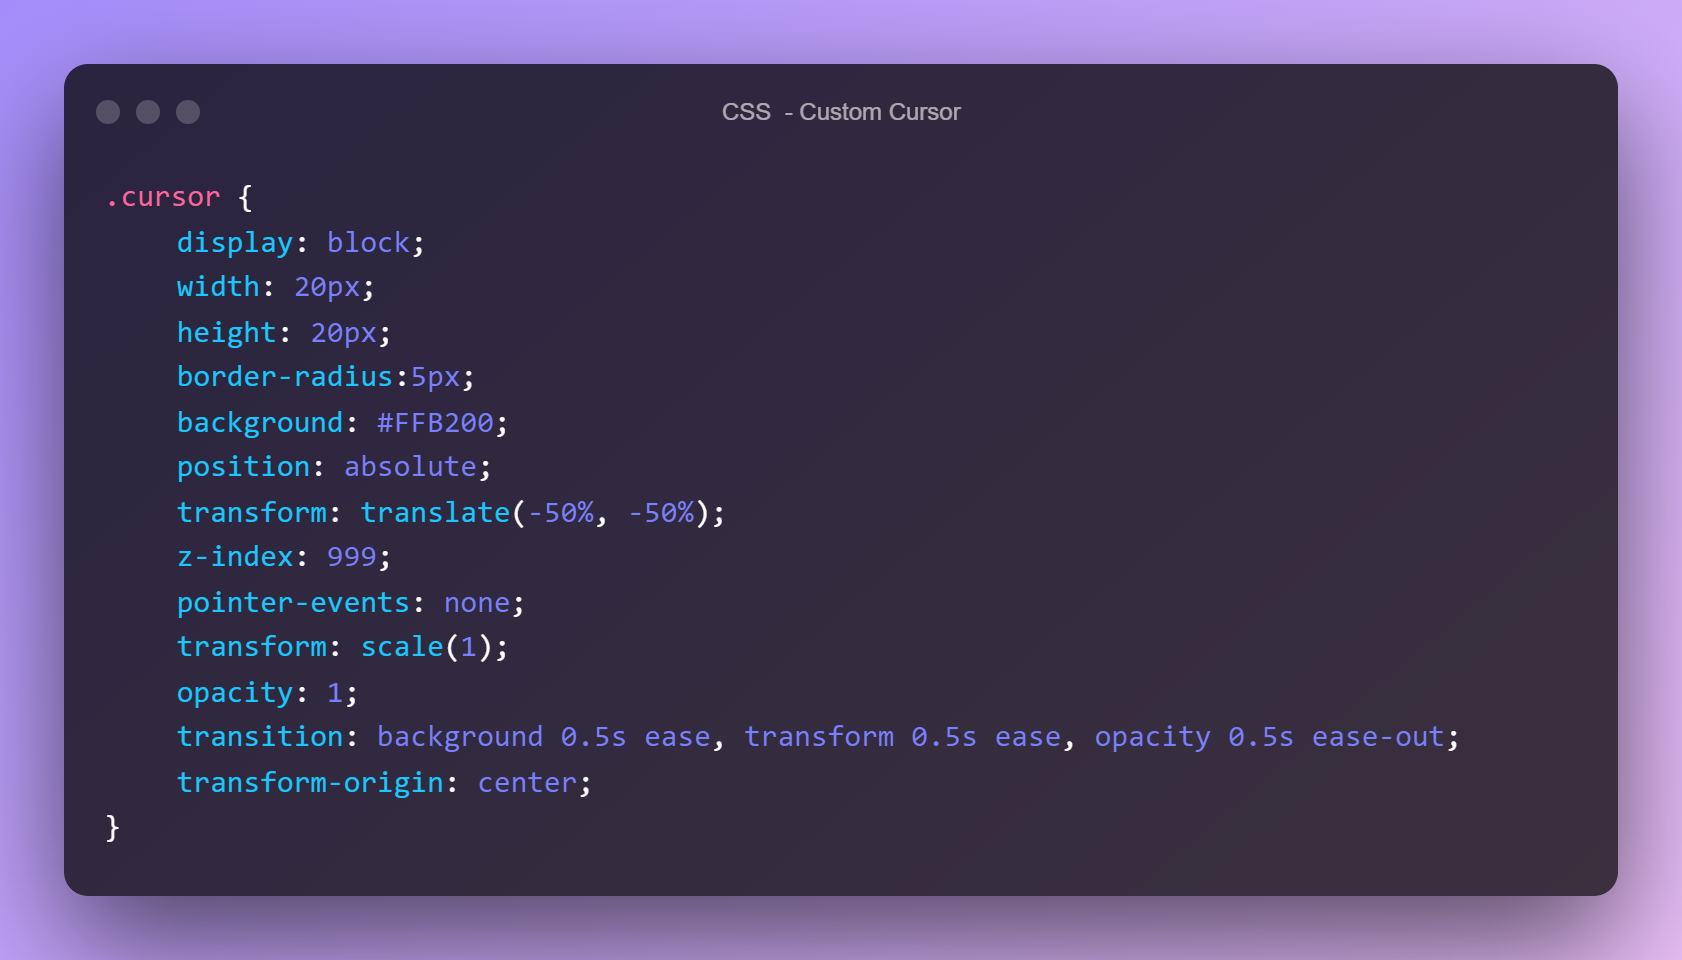
Very simple isn’t it? Now let’s style it with some CSS, I chose a small square with border radius.
Pay particular attention to the properties I have added to the cursor class, among them are some that are necessary for the cursor to work such as pointer events, z-index, position absolute with transform -50% and transition.
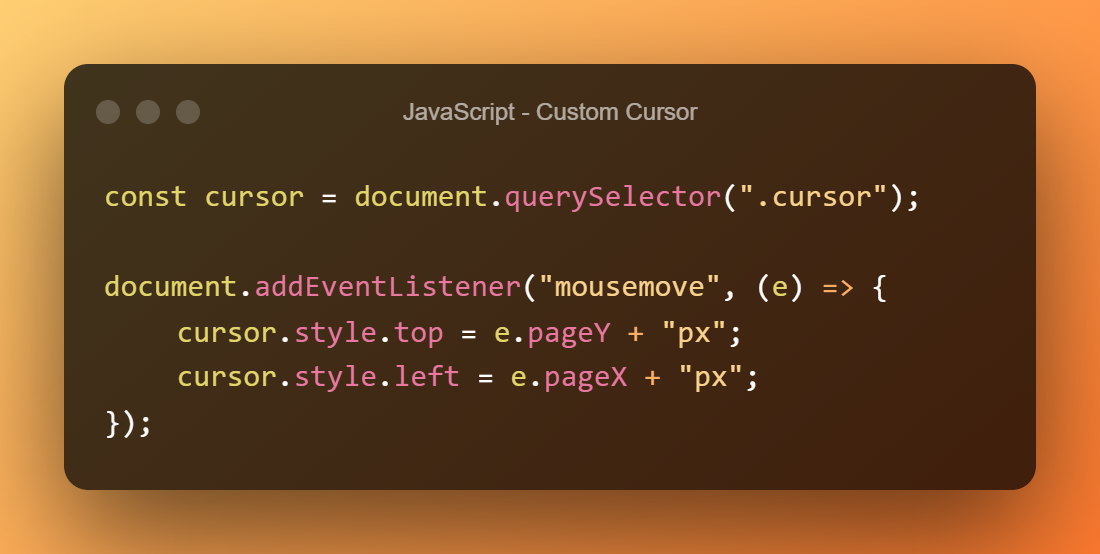
Now we are ready to animate the cursor to follow the mouse pointer.
All we do here is select the cursor and add the event listenter ‘mousemove’ to it, so that whenever our pointer changes position, the function inside is triggered.
Piece of cake!
03. Hover Effect
But we want to add two more effects to it, what do you say? Well, let’s start with the effect for hovering over links (the anchors)
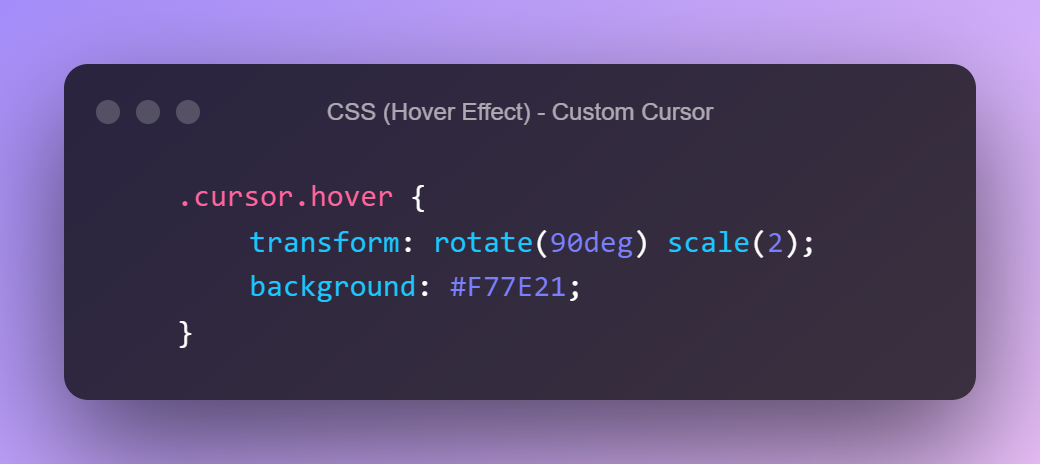
Let’s prepare the css, add a scale, a small rotation and a background color change
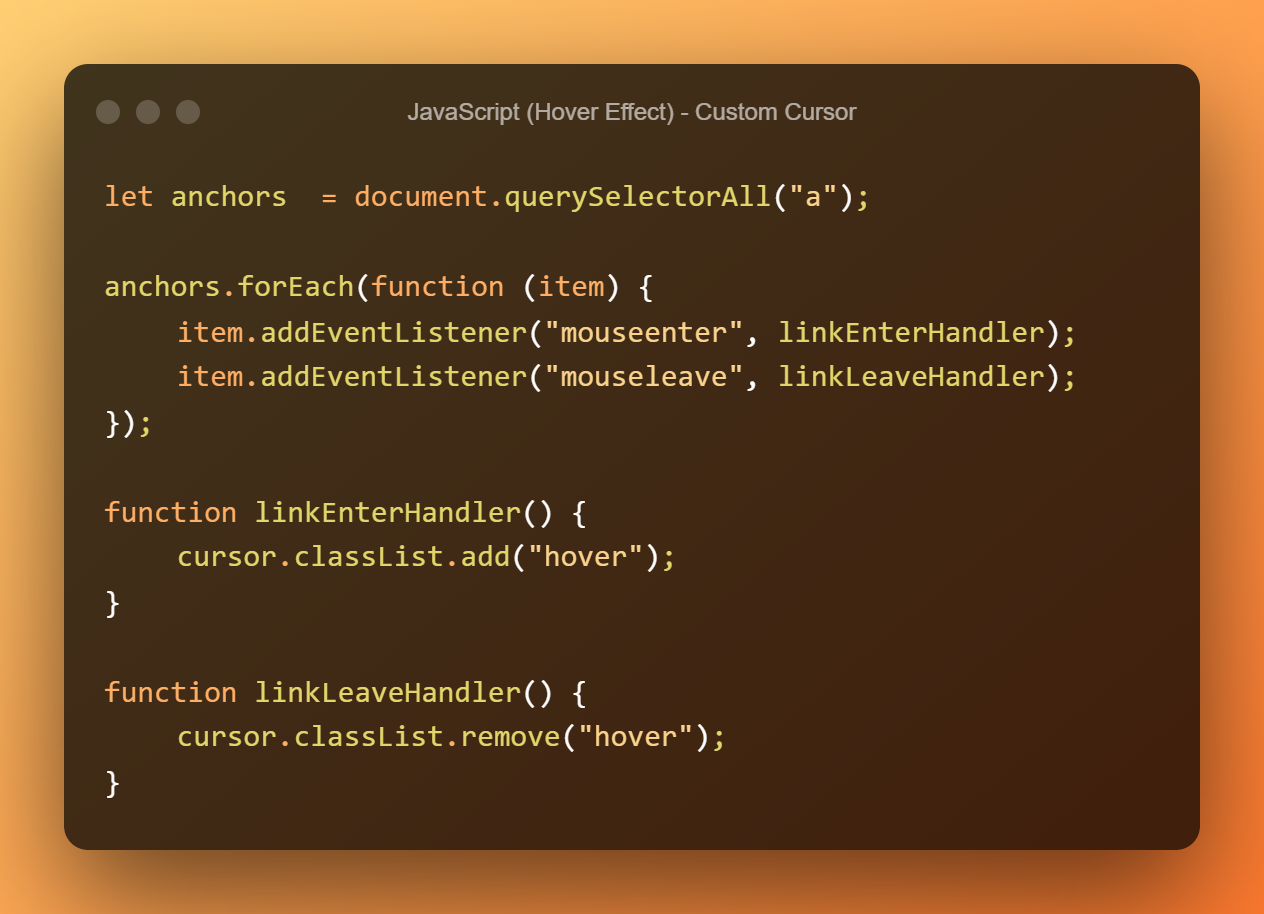
And now it’s javascript’s turn, at each link we have to set an event that adds the ‘hover’ class to our cursor and removes it when we hover out of the link, nothing simpler!
04. Click Effect
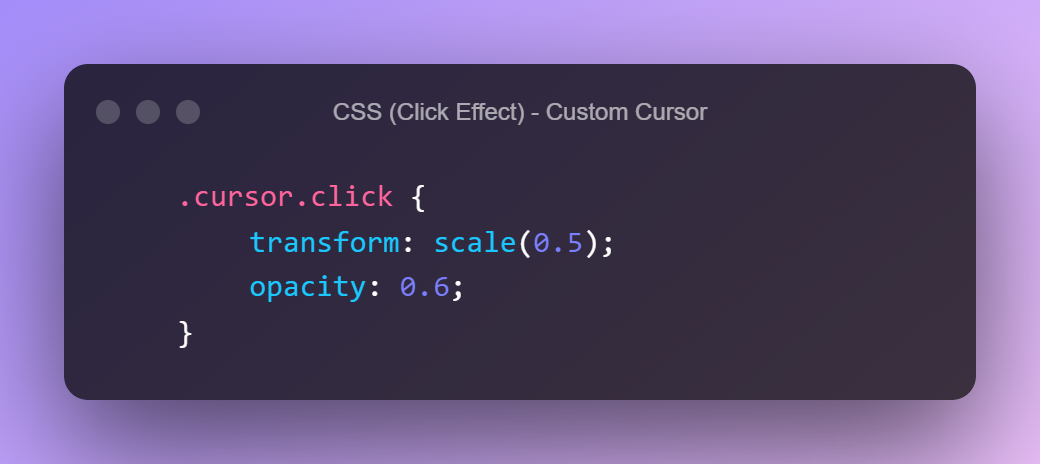
Ready for the next effect? Let’s add a style when we left-click anywhere on the page! Let’s start with setting the style
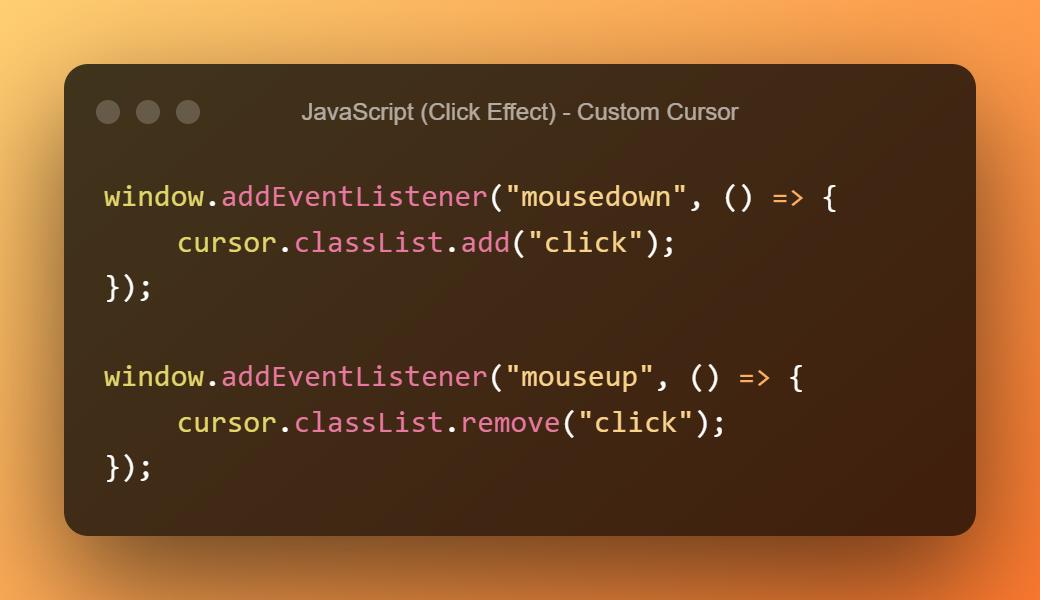
And now it is the event listener part, again when we click it has to add a class to the cursor and when we finish the click it has to remove it
HTML is definitely the first language a web developer learns early in his or her career. But in addition to its emblematic tags HTML5 offers us a number of tags that could save you many hours of work.
In this article, I’m here to show you some tags that are definitely underused but might come in handy
01. Details
Details is a very quick and easy way to create a kind of accordion very quickly.
Clicking on the ‘Accordion Title 1’ in fact opens the tag and we can view all the content within it, convenient isn’t it?
Tag mark is exactly for you, by default it highlights the text with classic yellow, like a highlighter… but you can customize it exactly as you like with a few lines of css 😉
The Meter tag defines a completion bar within a known unit or measure Meter can be very useful and straightforward, I’ll leave you with a list of some attributes that may suit you:
Value: Si riferisce al valore numerico corrente. Deve essere compreso tra il valore minimo e massimo.
Min: È il limite numerico inferiore dell’intervallo misurato. Deve essere inferiore al valore massimo, se menzionato.
Max: È il limite numerico superiore dell’intervallo misurato. Deve essere maggiore del valore minimo, se menzionato.
Low: Si riferisce al limite numerico superiore dell’intervallo misurato inferiore.
High: Si riferisce al limite numerico inferiore dell’intervallo misurato di fascia alta.
How many times have you found yourself needing to cross out text or underline it by default and resorted to some css? Well, you could have done it even with a simple html tag, after all html is semantic code 😛
Admit it, even you would have created it with css… but why complicate your life?
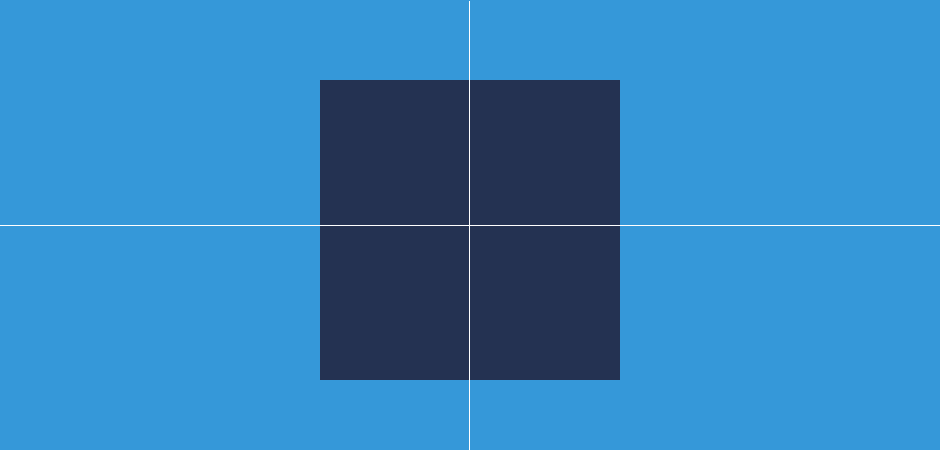
Whether you are a beginner or veteran developer sooner or later you will end up looking for this page. So here are 3 ways to center a div/element in different ways…use them to your advantage ????
Centering an element horizontally
Given a fixed width you can tell your element to take up as much space on the left as it does on the right, so that it sits EXACTLY in the center on every device
Using flexboxes and/or grid items is in the modern web now a must. So here is a way to center a div/element horizontally (justify-content: center;) and vertically (align-items: center;)
Using the position absolute interaction inside an element with position relative we can tell the child elements to position exactly in the center of the parent element